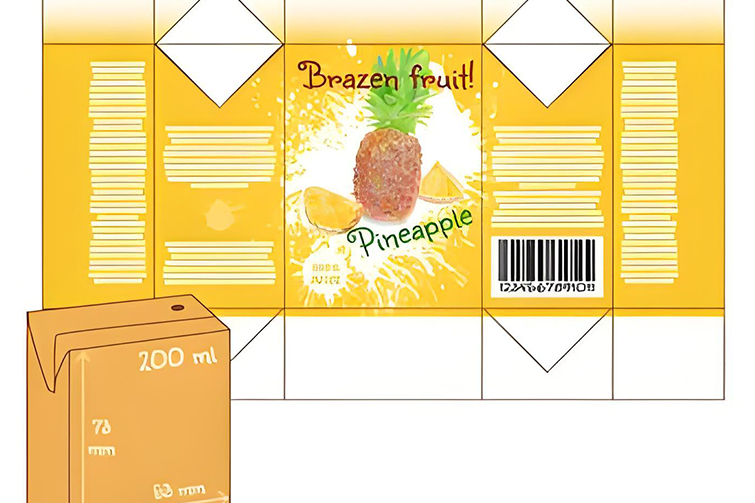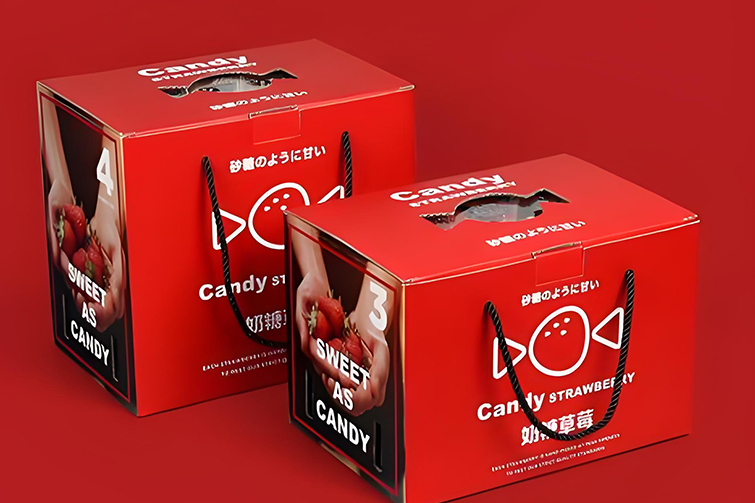


Solving the Problem of Color Inconsistency in Packaging Printing
Color inconsistency is one of the most common and frustrating challenges in packaging printing. When the red on one batch of boxes doesn’t match the red on another, or when the color shifts dramatically across a single print run, it undermines brand integrity, disrupts production, and damages client trust. This article explores the root causes of color variation and outlines a systematic approach to achieving consistent, accurate color.
The High Cost of Color Inconsistency
- Brand Damage: Inconsistent packaging makes a brand look unprofessional and can confuse consumers.
- Production Waste: Rejected batches, reprints, and press downtime lead to significant material and financial loss.
- Supply Chain Delays: Correcting color issues halts production lines and delays product launches.
Key Causes of Color Variation
Understanding the source of the problem is the first step to solving it.
1. Pre-Press & Digital Workflow Issues
- Uncalibrated Monitors: Designers approving color on uncalibrated screens see an inaccurate representation.
- File Errors: Using the wrong color profile (e.g., RGB for print), incorrect PDF settings, or undocumented spot colors.
- Proofing Discrepancies: A soft proof (on screen) or a hard proof (physical sample) that does not accurately simulate final press conditions.
2. Press & Printing Process Variables
- Ink Properties: Variations in ink viscosity, pigment strength, or formulation between batches.
- Substrate Changes: Paperboard is not neutral. Switching suppliers, or even different batches from the same mill, can have varying whiteness, brightness, and porosity, all affecting color appearance.
- Press Conditions: Fluctuations in ink fountain settings, water balance (for offset), dot gain, and roller wear during a run.
- Drying/Curing: Inconsistent UV curing or conventional drying can change ink film density and gloss.
3. Post-Press Finishing
- Lamination/Coating: Applying a gloss, matte, or soft-touch laminate will shift the perceived color. The same ink will look different under a gloss film vs. a matte film.
- Varnishes: Spot or overall varnishes can darken or alter the color tone.
4. Measurement & Human Factors
- Unstandardized Lighting: Color is perceived under light. Evaluating color under improper lighting (e.g., office fluorescent) vs. standardized D50 lighting leads to different judgments.
- Instrument Variation: Using different spectrophotometers or uncalibrated devices yields different data.
- Visual Assessment Alone: Relying solely on the human eye, which is subjective and susceptible to fatigue.
A Strategic Framework for Color Consistency
Achieving consistency requires a closed-loop, data-driven process from design to delivery.
1. Standardize the Pre-Press Workflow
- Color-Managed Environment: Calibrate all monitors to a standard like ISO 12646. Use color-accurate proofing systems.
- File Specifications: Enforce the use of correct color spaces: CMYK for process colors, Pantone Libraries for spot colors. Always include a physical color reference or a digital standard.
- Contract Proofing: Use a high-quality digital or inkjet proof that simulates the final substrate and printing conditions. This proof becomes the legal color contract.
2. Control the Printing Process
- Standardized Substrates: Qualify and approve paper/board stocks. Request drawdowns of inks on the actual substrate to pre-approve color.
- Press Calibration & Characterization: Use G7 or similar methodologies to calibrate the press to a neutral grayscale and define its color gamut.
- Use a Press OK Sheet: At the start of a run, formally approve a signed "OK sheet" as the master standard for that job.
- Statistical Process Control (SPC): Implement regular press checks using a spectrophotometer. Measure color strips (like a FOGRA MediaWedge) and track key metrics:Delta E (dE): The numerical difference between the standard and the sample. Aim for dE ≤ 2.0 for critical brand colors.Density: Maintain consistent ink film thickness.Dot Gain: Keep within predictable tolerances.
- Ink Management: Use formulated spot colors (Pantone or custom) and maintain consistent ink viscosity.
3. Account for Finishing
- Understand the Shift: Create a library showing how standard colors look with different laminates or coatings. Build this expected shift into the pre-press proof.
4. Implement a Robust Quality Control Protocol
- Standardized Viewing: Inspect color in a light booth using D50 (5000K) standardized lighting.
- Objective Measurement: Use a spectrophotometer for all approvals, not just press checks. Rely on dE numbers over subjective opinion.
- Define Tolerances: Establish clear, agreed-upon Delta E tolerances with your client (e.g., dE<2 for logos, dE<4 for less critical areas).
Conclusion: Consistency is a Process, Not an Accident
Color inconsistency is not an inevitable flaw; it is a manageable variable. By shifting from a subjective, reactive approach to an objective, process-controlled methodology, packaging printers can dramatically reduce color variation.